Maintenance
Part of Plaster wall repair: how it works and why repair comes first
Keeping repaired plaster sound through the years that follow
How to keep repaired plaster sound: crack monitoring, humidity control, dealing with mold on damp walls, and knowing which movement is normal.
What to take away
- Date and photograph every crack. A crack that reopens seasonally is different from one that grows.
- Repaired plaster fails again in exactly one situationthe moisture source was never found.
- Mold on a plaster surface is a symptom. Cleaning it without fixing the moisture buys a few months.
- Keep indoor humidity stable rather than chasing a target. Swings crack finishes faster than any single level does.
The first year after plaster work is a diagnostic period. What appears in that year tells you whether the repair addressed the cause or only the symptom.
Monitor rather than refill
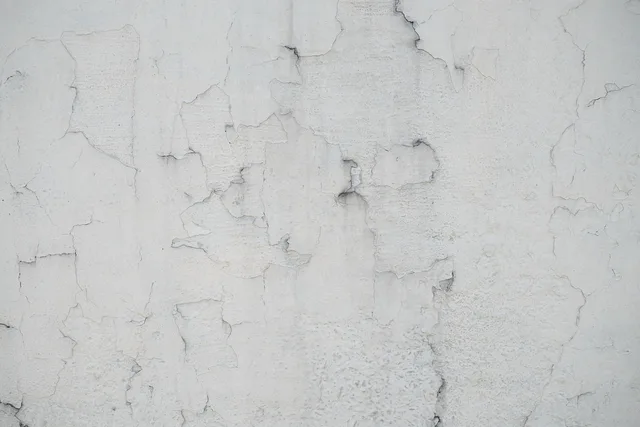
Draw a light pencil line across each crack with the date beside it. Photograph it. Check again after the first heating season and the first humid summer.
What the crack is telling you
How does the crack behave over the year?
Opens in winter, closes in summer -> flexible filler or leave it
Grows steadily in one direction -> call a structural engineer
Refilling annually without recording anything hides the pattern that would tell you what is happening. Drumminess overhead is the one to act on at once, because a detached ceiling carries the largest cost of failure of any plaster repair.
Humidity and how plaster responds
Lime and gypsum plasters buffer moisture, taking it up and releasing it slowly. That is useful, and it is also why sudden swings show at the surface. Aim for stability: change humidification slowly, ventilate bathrooms and kitchens mechanically, and avoid drying out a house rapidly after any water event.
Keeping plaster moisture-stable
- Change humidification slowly
- Ventilate bathrooms and kitchens mechanically
- Avoid rapid drying after a water event
- Read NPS guidance before insulation or air sealing
- Watch the plaster for signs a wall can no longer dry inward
The interaction between energy work and moisture is a real risk to interior finishes. The Park Service overview of sustainability, energy efficiency and resilience in historic buildings is worth reading before any insulation or air sealing work. A wall that used to dry inward and no longer can will show it in the plaster first.
Which way the wall was drying to begin with depends on where you live, since the moisture path through an old wall runs in opposite directions north and south.
When mold appears
| Where | Usual cause | What to do |
|---|---|---|
| Behind furniture on an outside wall | Cold surface, poor air movement | Move furniture out, improve air flow |
| Corners of a bathroom ceiling | Ventilation failing | Fix or upgrade the extract fan |
| A stain that recurs after cleaning | Active water source | Find the leak before cleaning again |
| Along a floor line | Rising damp or a plumbing leak | Investigate below the finish |
Cleaning method matters on porous mineral surfaces. The federal procedure for removing mildew stains from concrete sets out the general discipline for any porous mineral substrate. Identify the growth, use the gentlest effective treatment, rinse carefully, and understand that the stain returns unless the moisture is dealt with.
The annual walk
Once a year, walk through each room with a flat hand and listen for drumminess. Check every crack against its photograph; look at the ceiling under each bathroom; check the wall inside every external corner. Fifteen minutes a year prevents most of the expensive surprises.
Each repair's mechanics are in our plain-English guide to plaster repair, and the wider interior routine is in our maintenance plan for period interiors.