Features
Part of Original wood windows compared for value, comfort and long-term fit
Original wood windows timeline: work paced by season
An original wood windows timeline: the sequence for one sash, the cure stages that set the pace, and how to phase a whole house across two or three seasons.
What to take away
- Cure times, not labor hours, set the schedule. Glazing putty and paint each need their own waiting period.
- Exterior painting has a weather window. Shop work on removed sash does not, which is why winter is useful.
- Plan a whole house over two or three seasons, not one summer.
- Decay prevention at the sill and lower rail is what determines how long the finished work lasts.
Sash restoration looks slow because most of the elapsed time is waiting rather than working. An original wood windows timeline is mostly a schedule of those waits, and knowing where they sit lets you overlap them usefully.
The sequence for one sash
- Test paint, then remove the sash and fit a temporary panel.
- Strip the sash to sound material and remove old putty.
- Repair or splice any decayed members and consolidate localized decay.
- Prime the bare wood and the glazing rabbet.
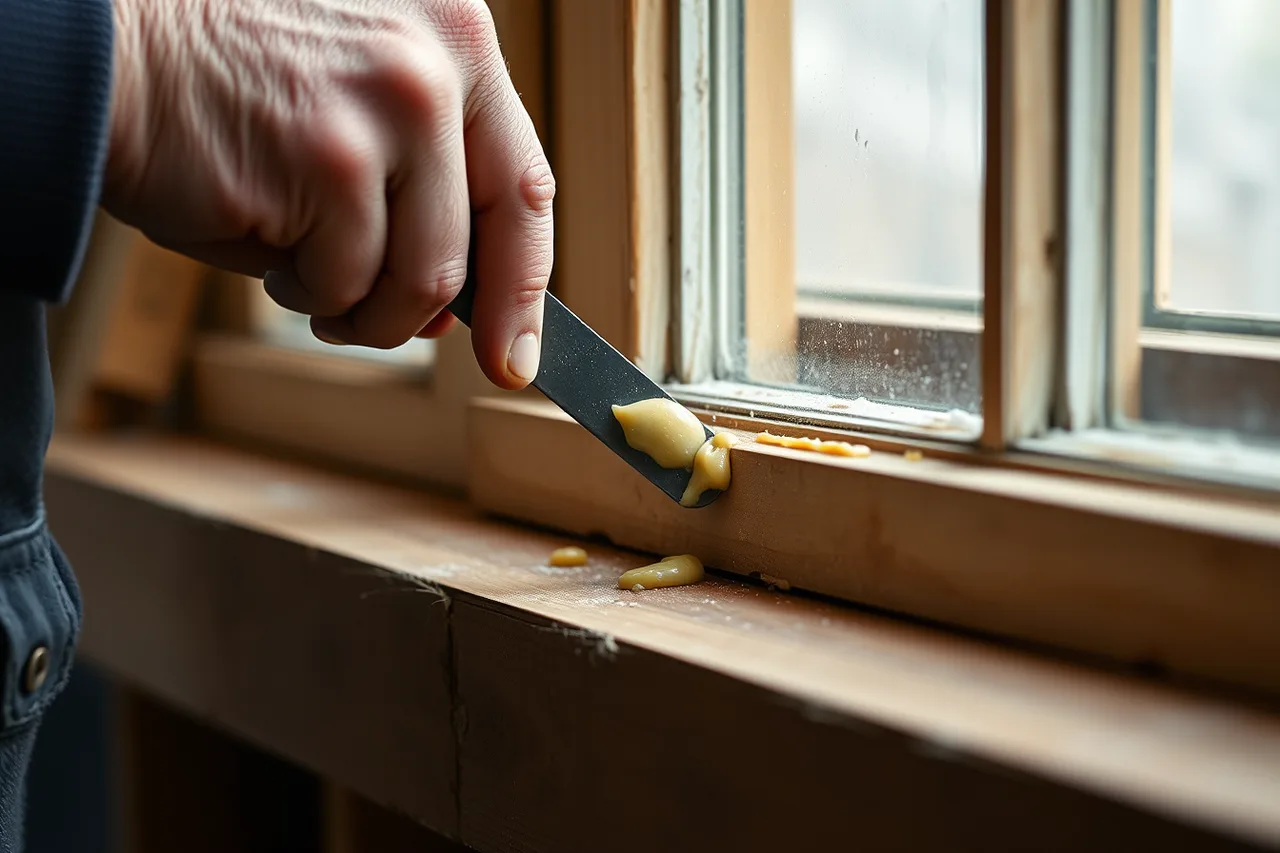
- Reglaze, then wait for the putty to skin over before painting.
- Paint, lapping the paint onto the glass to seal the putty edge.
- Rehang, weatherstrip and adjust.
Steps four to six carry the waiting. Priming before glazing is not optional: putty applied to bare wood loses its oil into the timber and fails early.
Step one is not a formality either: sash abrades against the jamb every time it moves, so painted windows are the worst lead-dust case in a pre-1978 house. That work falls under the EPA's Renovation, Repair and Painting Rule (40 CFR 745), which requires a certified firm and a certified renovator when painted surfaces are disturbed in pre-1978 housing. Paint is tested before anything is scraped.
A first sash takes a full weekend of intermittent attention, spread across two weeks of cure time.
By the fourth or fifth, working time drops sharply because the decisions are already made and the tools are already out. Batching helps for the same reason: stripping four sash in one session costs far less than four times one session. The cure periods then run in parallel rather than in series.
Where the elapsed time goes
| Stage | Working time | Waiting time |
|---|---|---|
| Survey and paint testing | A day for a house | Lab turnaround if sampled |
| Stripping one sash | Hours | None |
| Repair and consolidation | Hours | Cure per product |
| Priming | Minutes | Overnight or longer |
| Glazing | An hour | Days to skin over |
| Painting | An hour | Days between coats |
Paint preparation is the stage most often rushed, yet it decides whether a finish lasts five years or fifteen. That spread is why paint and primer choices matter across decades, not gallons.
The Park Service tech note on surface preparation for painting exterior woodwork is specific about how much preparation different substrate conditions need.
Seasons, and how to use them
Exterior painting and rehanging want dry, moderate weather. Stripping, repair, priming and glazing can happen indoors in any season. That asymmetry is the key to phasing: pull sash in autumn, work through the winter, and rehang and paint in spring.
Decay prevention deserves its place in the schedule as well. The Park Service tech note Protecting Wood Windows Against Decay covers the treatments and detailing that keep water out of end grain and joints, which is where sash actually fails.
Phasing a whole house
Do the worst elevation first if decay is advancing. If comfort drives the work, start with the coldest rooms.
Six to twelve sash a season is a realistic amateur pace and a comfortable professional batch. Budget and schedule the whole house across two or three years to make the annual number manageable. The wider project schedule is in our timeline for old-house projects, and the underlying decision is in our window options compared.